Here’s a quick tutorial on what to do with the paperminis once you’ve downloaded them from the Hishgraphics Papermini Patreon page and printed them out.
My free paperminis earlier were a no-frills, plain flat affairs which had no base for them to stand on. Those paper minis, when assembled, required a base assembly. For the Patreon paperminis, I thought I’d include something extra: several options for bases.
Here are some thoughts on how you can assemble the minis.
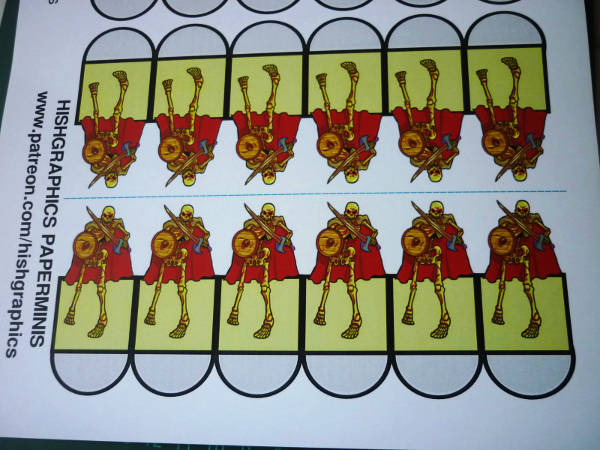
The raw printout on white card
The above is a printout of the free downloadable PDF sample of skeletons and wraiths from my post at the Patreon page. It was printed onto white card stock.
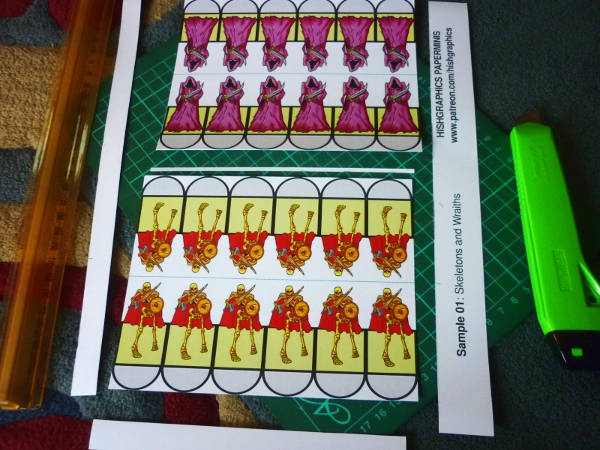
Then it’s knife o’clock
Then I sliced and diced it to extract the papermini elements. As can be seen above, each element folds back onto itself on top (towards the papermini’s head) along a blue dashed line. But it also has base tabs on the bottom (towards its legs). When assembled, the base tabs fold out to form a square base.
Base type 1: Simple Base
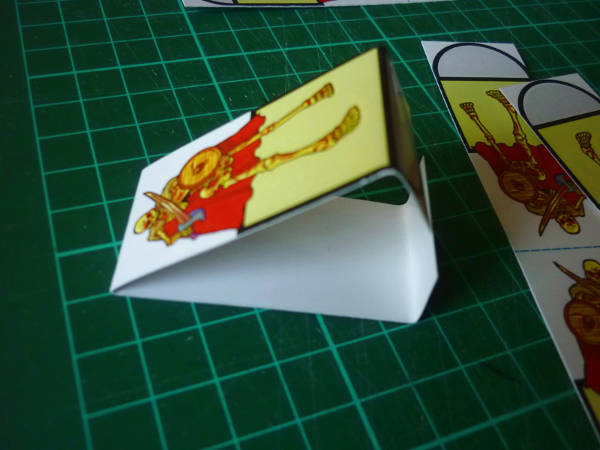
Childhood tabletop football game piece
Here’s how to make the simplest of bases.
After folding the center line (the blue dashed line) you may fold both base tabs inwards at its border line. If you fold it outwards first, you might get the folding line wrong because of the visibility of the base border line.
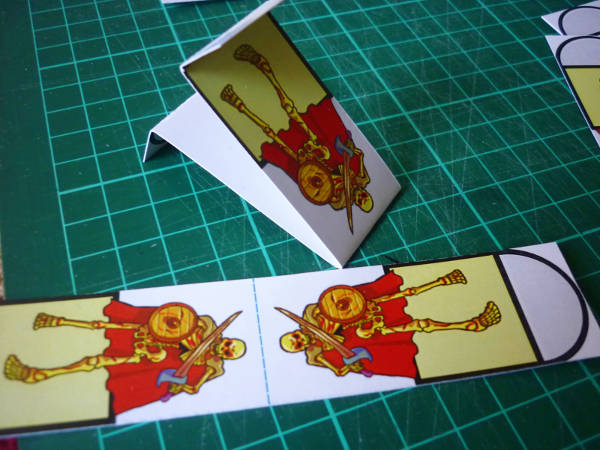
They could use a bit more meat on their bones
Then, fold the base tabs outwards. This is now easily done because of the stress line created by the previous inward fold.
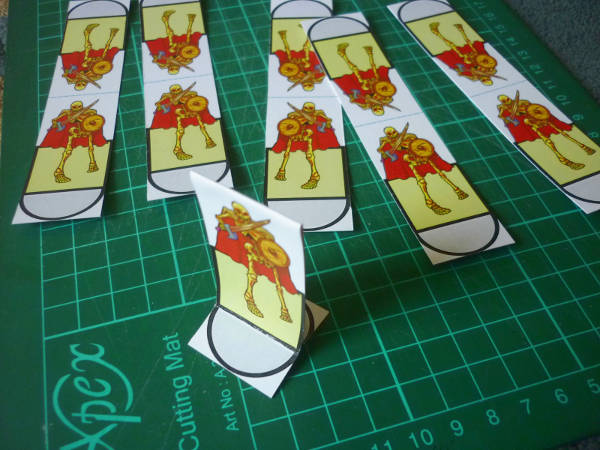
No more flat jokes
Glue the inner surfaces together and allow the tabs to prop up the papermini. Ta-daa! The simplest of bases.
Base type 2: Weighted Base
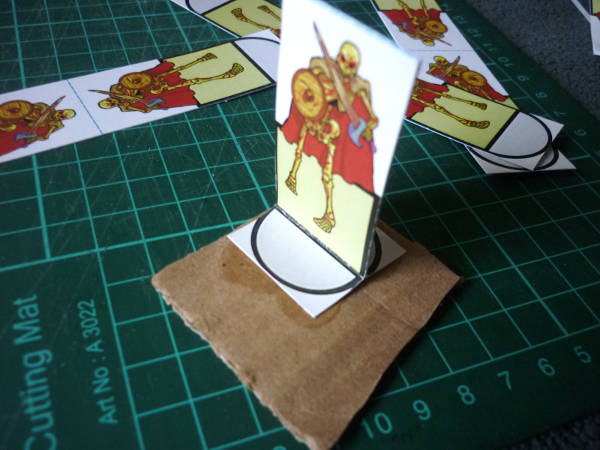
The rounded base
For a sturdier base, glue weighted material to the bottom of the folded-outward papermini tabs. Corrugated board from an packaging box was used in the photo above.
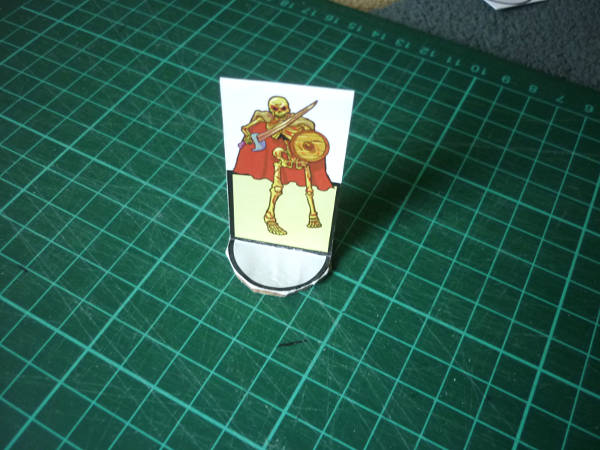
Standing alone
Once glued together, cut the corrugated board to the square outer shape of the base flaps. If you’re so inclined you could also cut the board to the circular inner shape of the base flaps, like the above. Remember to let the glue between the card stock and the corrugated board harden before beginning to cut, because you need it to grip each other when holding it down for the deadly flick of the blade.
Base type 3: Third Party Base
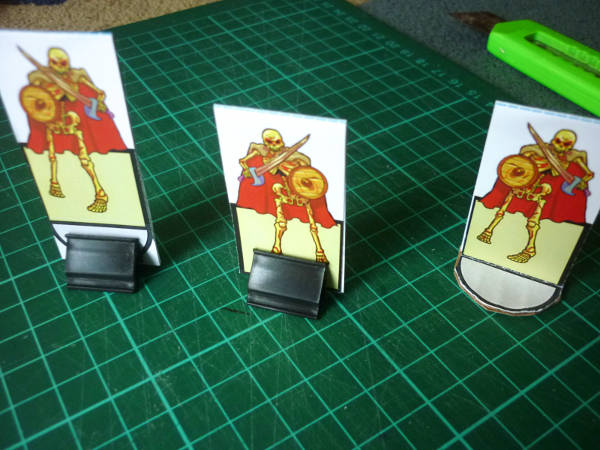
Skellingtons with bases
Finally, it is possible to use third party bases from other sources. The bases seen in the photo above are Precis Intermedia‘s Disposable Heroes Plastic Stand-up Bases. Elsewhere on this blog are examples of bases downloaded and assembled from One Monk Miniatures, which has a range of different terrains printed onto their bases.
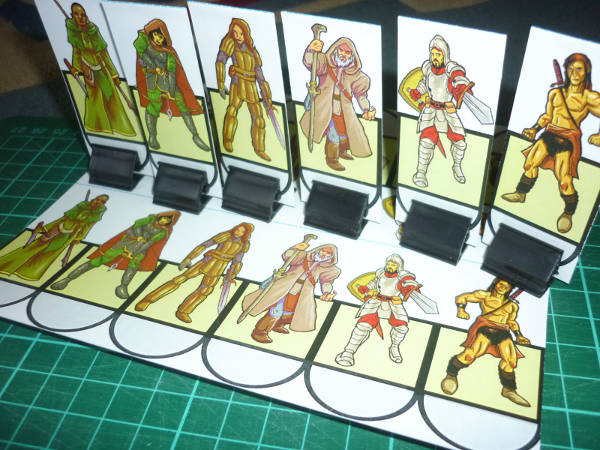
The first batch
Here is a picture of the first batch of Patreon figures assembled and mounted upon the Disposable Heroes bases to be released soon. A worthwhile exercise, because I’ve already detected some things to improve upon when producing the second batch of paperminis when testing these out.

Hi Hisham,
Thank you and really helpful guide you provide here, many thanks again for answering every bit of my questions patiently and for any related minis, DMing and for playing TTRPG game concept.
Would you also if in future and having a slightest time perhaps provide some suggestion on making the minis looks extra shining/brighter either by demonstrating how do you laminate it?
Appreciate it, Cheers!
Hi! I don’t really laminate it, because once it’s folded it’s structure is quite robust. However there might be warping (bending) because of the glue used. Best printing I had was using colour laser printer at the print shop.
If you do want to laminate it, I suppose you could print on standard low gsm paper, glue the front and back together, then laminate them.
Also, if you’re looking for a laser-cut wood base, check out JP’s Creation at this link, which should look much better than plastic bases.